


If you’re operating a website or blog, you certainly have a purpose behind running it. It can be generating leads, gaining popularity, or growing your business. Anything. And, to see if you’re close to or far from achieving these goals, you need to track the performance of your website regularly.
Google Analytics, is a free software introduced by Google, that you can use to keep a track of how visitors are interacting with your website. A deep understanding of the way your visitors respond to your blog or website enables you to create better content.
Today, Google Analytics is the most popular analytics tool used by websites all over the world.
Why, is Google Analytics the best for your site?
- First things first, Google Analytics is absolutely free. And, it comes with more features and benefits than many paid analytics tool.
- It gives you statistics on how many people visit your site on a daily basis, and how long they stay on your website.
- It categorizes visitors based on geography, referral sources, and browsers, which helps you understand your visitors’ behavior better.
- You get a report of your popular and most effective keywords. You can improve the search engine optimization of your website substantially with this.
- You’ll also be able to identify which pages and links your visitors click the most.
Here’s a step-by-step process to set it up.
How to Set Up Google Analytics
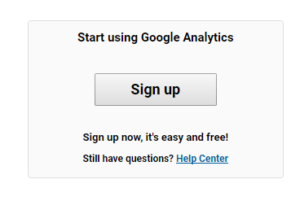
Step 1
Go to Google Analytics and click on ‘Sign Up’.
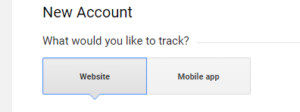
Step 2
Google Analytics helps you track data from your website or mobile app. On the next screen, select ‘Website’.
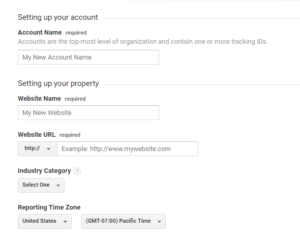
Step 3
Now to set up your account, you need to enter some details. Your website name, the URL and the category of your website. And then, enter the location of your business and select a time zone.
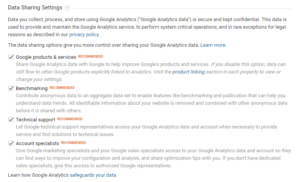
Step 4
Once you’ve entered all the details, fill in the checklist for Data Sharing Settings.
Step 5
Now click on ‘Get Tracking ID’

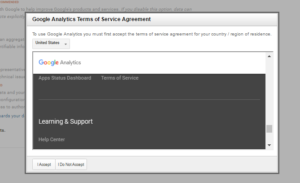
Step 6
Now you will be led to a pop up that contains Google Analytics Terms of Use. Click on ‘I Accept’ and continue.
Step 7
All done. You’ve successfully set up your Google Analytics account. Now from your dashboard, go to ‘Admin’.

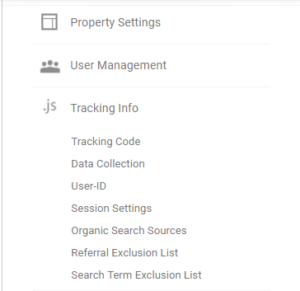
Step 8
Now click on ‘Tracking Info’ and from the dropdown, select ‘Tracking Code’.
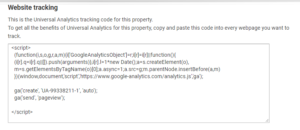
Step 9
Copy your tracking code. This code will be later used to track your website’s performance data.
Step 10
In order to start using Google Analytics on your website, you need to install a suitable Google Analytics Plugin. There are several plugins available for this. The plugin we use is MonsterInsights. It’s fairly reliable and it’s FREE. If you’d like to know how to install a plugin, check out this article, click here.
Step 11
Once installed, you’ll have to activate the plugin and set up Google Analytics by pasting the tracking code in the plugin settings. Once you’ve pasted the code, save your changes, and it’s done. You’ve successfully set up Google Analytics on your website.
Now you can get all your website stats from the number of clicks and popular pages to keyword optimization and other figures, all for free.


Thanks, so hulpful. Hope you’re doing one on the new fancy Google Analytics coming out soon.
Very good and informative post..
Ah thank you so much! I need to do this ASAP! I appreciate it!
Great step by step instructions! I’m a new blogger and when I set up analytics a month ago it took me a few days to get it working because trying to figure it all out on my own was tricky and I had made a mistake in the process. this will be very helpful for others.
Great guide! Google analytics is such a amazing resource and tool and tbh it took me so long to set it up and work it out! I wish I had had something like this to use to guide me!
It’s crazy to me how many people don’t have this set up. It’s such a useful tool. I can gauge what’s working and what isn’t. It also makes a good end of the year post -top X Posts of 2016
Very good and informative post.. It will help me to rank my website in google search engine..Thank you for sharing this with us.
This so helpful for anyone who is new in the world of blogging. Everything is well explained step by step. Glad I came across this post.
Thanks for the very helpful guide. You can also install this through a plugin. I’ve heard of people installing it twice and getting erroneous reports.